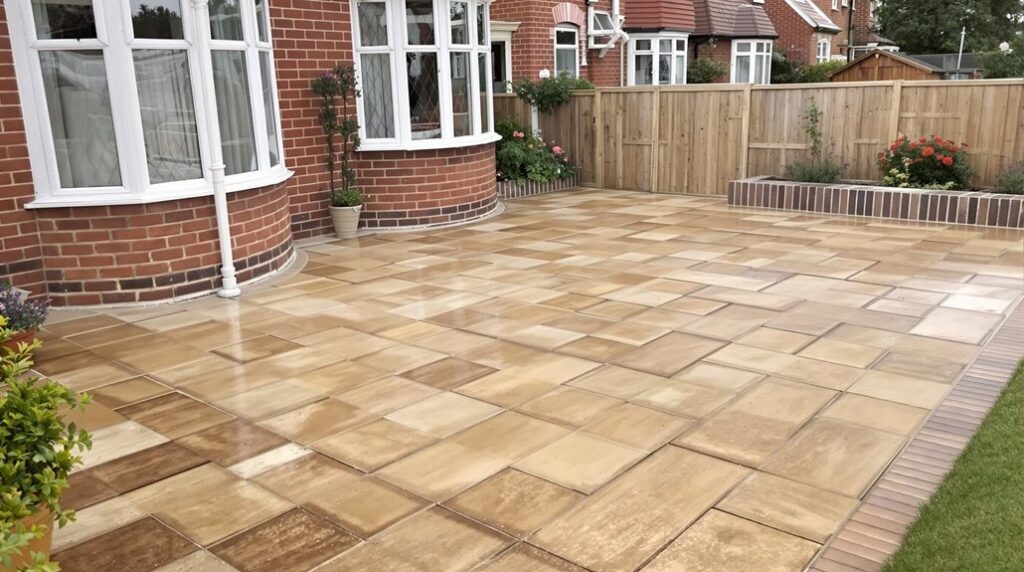
Block paving driveways inevitably suffer wear and damage over time, but complete replacement isn’t always necessary. Homeowners often assume that cracked blocks, uneven surfaces, or weed-infested joints signal the end of their driveway’s lifespan. However, targeted repairs can restore both functionality and appearance at a fraction of the cost. The key lies in understanding which problems require immediate attention and which repair techniques will deliver lasting results.
Assessing the Damage and Identifying Problem Areas
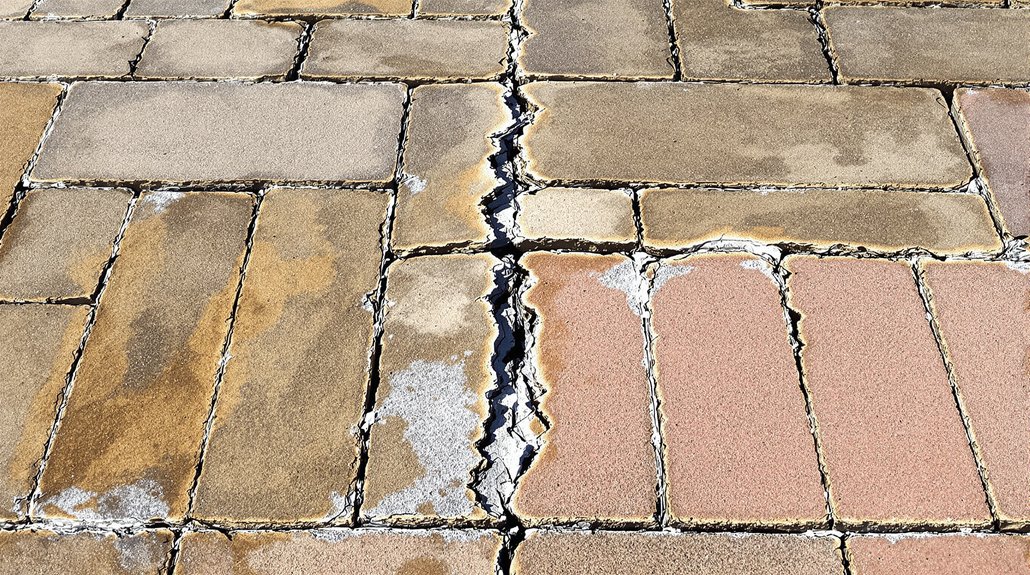
Before any repair work begins, property owners must conduct a thorough examination of their block paving to determine the extent and nature of the damage. This damage evaluation process involves inspecting the entire surface for visible signs of deterioration, including cracked blocks, sunken areas, loose pavers, and weed growth between joints.
Problem identification requires checking for uneven surfaces that may indicate underlying base issues or poor drainage. Property owners should look for oil stains, efflorescence, and color variations that suggest different types of damage. Walking across the paving helps detect hollow-sounding areas where blocks have lost support underneath.
Documenting problem locations with photographs and measurements enables prioritization of repairs and accurate material estimation for the restoration process. While many issues can be addressed through targeted repairs, extensive damage may require consultation with certified installers who can assess whether partial restoration or complete replacement offers the most cost-effective solution.
Essential Tools and Materials for Block Paving Repairs
Once property owners have identified the specific damage requiring attention, gathering the proper tools and materials becomes the next priority for successful block paving repairs. Having the right equipment guarantees effective repair techniques can be implemented without delays or complications.
The essential tools needed include:
The essential tools needed include a rubber mallet, cold chisel, hammer, stiff brush, pressure washer, and spirit level for proper repairs.
- Rubber mallet – For gently tapping blocks into position without causing cracks or damage to the surface
- Cold chisel and hammer – For removing damaged blocks and cutting materials to size when necessary
- Stiff brush and pressure washer – For cleaning debris from joints and preparing surfaces before repairs
- Spirit level – For guaranteeing blocks are properly aligned and maintaining consistent surface levels
Additional materials include replacement blocks, kiln-dried sand, and appropriate sealants for finishing touches.
Fixing Sunken and Uneven Sections of Your Driveway
When sunken and uneven sections develop in block paving, addressing these issues promptly prevents further deterioration and maintains both the structural integrity and aesthetic appeal of the driveway.
Sunken blocks typically result from inadequate sub-base preparation or drainage issues. Begin by carefully removing the affected blocks using a prying tool. Inspect the sand bed underneath for proper depth and compaction. Add sharp sand as needed, ensuring a level surface. For severely uneven surfaces, excavate deeper to address sub-base problems.
| Problem Type | Risk Level | Repair Urgency |
|---|---|---|
| Minor sinking | Low | Within 2 weeks |
| Major unevenness | High | Immediate |
| Multiple sunken areas | Critical | Same day |
Reinstall blocks systematically, checking alignment with a spirit level. Compact thoroughly using a plate compactor to prevent future settlement issues.
Replacing Cracked or Broken Individual Blocks
Cracked or broken blocks compromise the overall appearance of block paving and can create safety hazards if left unaddressed. Replacing damaged individual blocks restores structural integrity while maintaining aesthetic appeal.
The replacement process requires careful attention to block selection and color matching to guarantee seamless integration:
- Remove damaged blocks using a chisel and hammer, working carefully to avoid damaging adjacent pavers
- Clear debris from the cavity and level the sand base underneath the removed block
- Select replacement blocks with proper color matching to blend naturally with existing paving
- Install new blocks by placing them firmly into position and tapping gently with a rubber mallet
Proper sand joint filling and compaction complete the repair, assuring the replaced blocks remain stable and level with surrounding pavement.
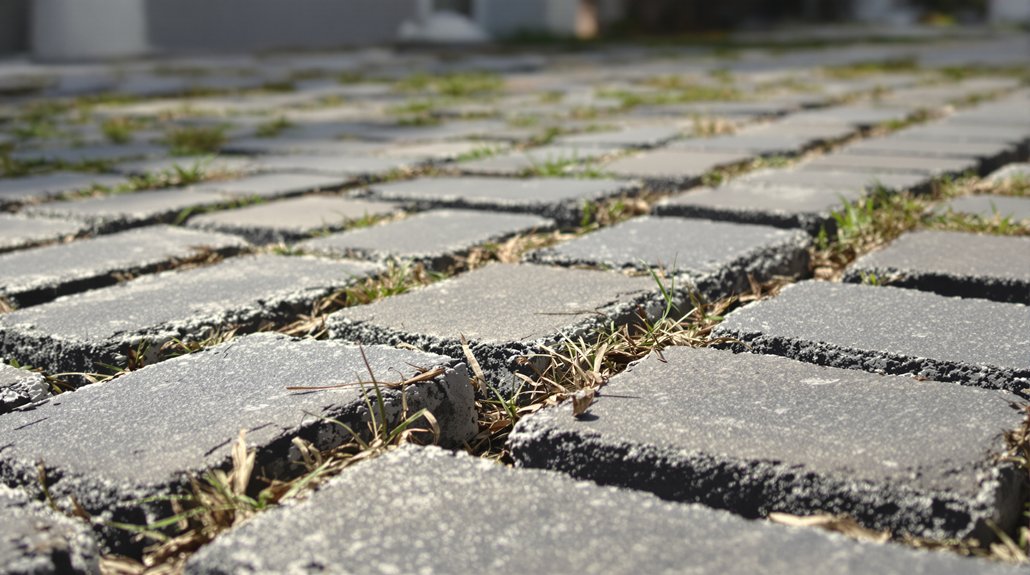
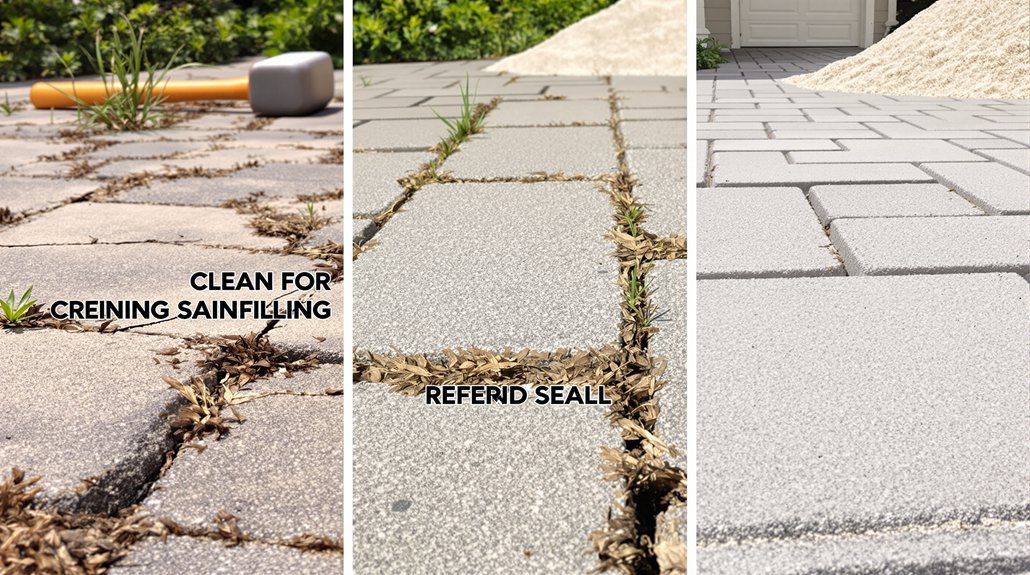
Removing Weeds and Re-sanding Block Joints
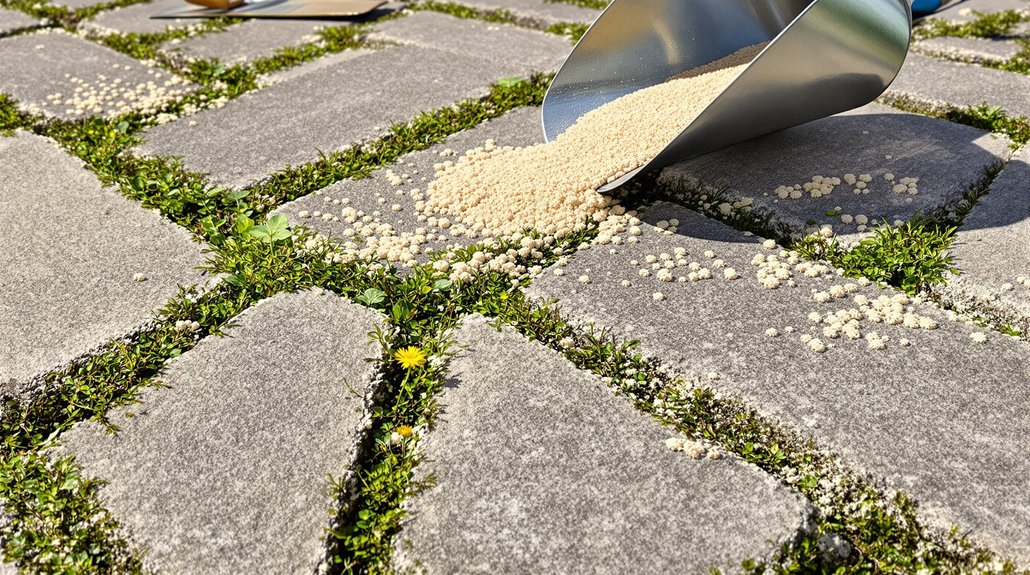
While individual block replacement addresses structural damage, maintaining clean joints between pavers requires regular weed removal and fresh sand application to preserve both functionality and appearance. Effective weed control begins with manually extracting visible growth using specialized tools or herbicide application for stubborn root systems. After eliminating vegetation, thoroughly clean joints using a stiff brush or pressure washer to remove debris and old sand residue.
Joint maintenance involves selecting appropriate kiln-dried sand that matches existing materials. Pour sand generously across the surface, then sweep diagonally to fill gaps completely. Use a plate compactor or hand tamper to settle sand firmly into joints. Brush excess material away and repeat the process until joints reach proper levels, ensuring stable block positioning and preventing future weed penetration.
Addressing Stains and Surface Discoloration
Beyond structural repairs and joint maintenance, block paving surfaces frequently develop stains and discoloration that compromise their visual appeal and can indicate underlying deterioration. Various factors contribute to surface degradation, including oil spills, rust marks, organic growth, and weather exposure. Effective stain removal requires identifying the specific type of contamination before selecting appropriate cleaning methods.
Identifying the specific type of contamination is essential before selecting appropriate cleaning methods for effective block paving stain removal.
Professional color restoration techniques can revitalize weathered surfaces:
- Oil and grease stains – Apply specialized degreasers and scrub with stiff brushes before pressure washing
- Rust deposits – Use oxalic acid-based cleaners following manufacturer safety guidelines
- Organic staining – Treat algae and moss with fungicidal solutions
- General discoloration – Power wash with suitable detergents, then apply protective sealers
Proper stain removal maintains surface integrity while restoring original appearance.
Preventive Maintenance Tips to Avoid Future Damage
Implementing a systematic maintenance schedule considerably extends block paving lifespan and prevents costly repairs. Homeowners should conduct seasonal inspections to identify loose blocks, weed growth, and minor settling before these issues escalate. Spring inspections focus on winter damage assessment, while autumn checks prepare surfaces for harsh weather conditions.
Regular cleaning removes debris that retains moisture and promotes deterioration. Power washing annually eliminates embedded dirt and organic matter from joints. Prompt weed removal prevents root systems from displacing blocks or damaging joint sand.
Proper sealing protects against water penetration, oil stains, and freeze-thaw cycles. Quality sealers should be reapplied every two to three years, depending on traffic levels and weather exposure. Joint sand replenishment maintains structural integrity and prevents block movement during temperature fluctuations.