
Installing new driveways in Hertfordshire represents one of the most significant exterior improvements a homeowner can undertake. The process demands careful preparation that extends far beyond simply choosing between asphalt and concrete. Property owners who skip essential preliminary steps often face costly delays, permit violations, and structural issues that could have been easily prevented. The difference between a smooth installation and a problematic one lies in understanding what must happen before the first shovel breaks ground.
Research Local Permit Requirements and Building Codes
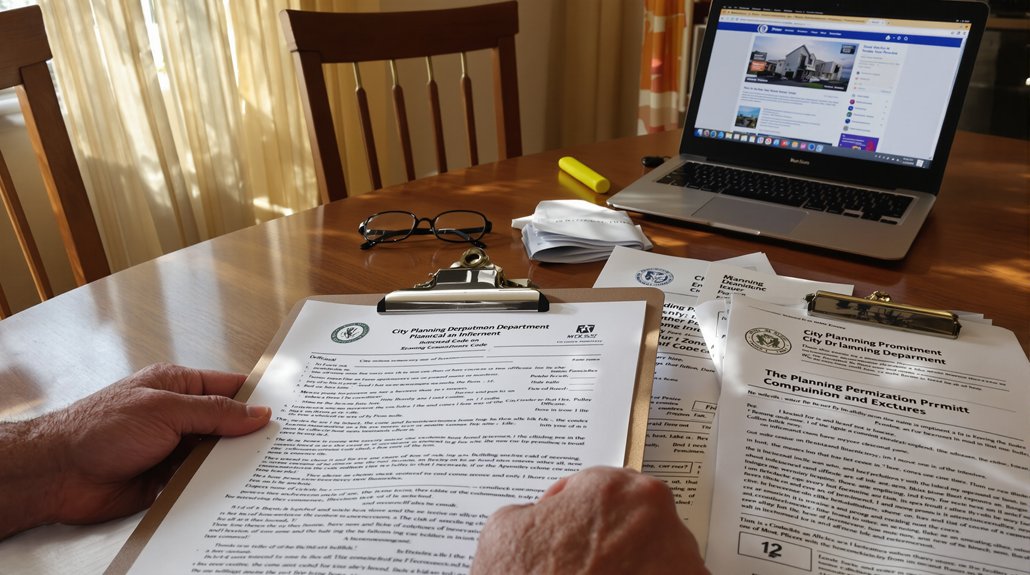
Before breaking ground on a new driveway, property owners must investigate their municipality’s specific permit requirements and building codes. Most jurisdictions require permits for driveway construction, particularly when connecting to public roads or altering existing drainage patterns. Property owners should contact their local building department to determine which permit types apply to their project, as requirements vary considerably between municipalities.
Common regulations address setback distances from property lines, maximum slope percentages, drainage specifications, and material restrictions. Some areas mandate specific width requirements or prohibit certain paving materials. Building inspections may be required at various project stages, including excavation, base preparation, and final completion. Failing to secure proper permits can result in costly fines, project delays, or requirements to remove completed work. Professional driveway installers can provide assistance with planning permissions and building regulations, helping homeowners navigate the complex regulatory landscape efficiently.
Contact Utility Companies for Underground Line Marking
Property owners must arrange for underground utility line marking before any excavation begins, as striking buried cables, pipes, or gas lines poses serious safety risks and legal liabilities. This critical step protects both workers and property while guaranteeing compliance with local regulations.
The underground line marking process involves several essential steps:
- Contact 811 or local one-call services at least 48-72 hours before excavation to initiate utility company protocols
- Schedule marking appointments with individual utility providers including gas, electric, water, and telecommunications companies
- Verify all utilities respond and complete their line marking procedures using colored flags or spray paint
- Document the marked areas with photographs and maintain records throughout the driveway installation project
Proper coordination guarantees excavation proceeds safely without damaging expensive underground infrastructure.
Assess Your Property’s Drainage and Grading Needs

How effectively water moves across and away from the proposed driveway area determines the long-term success and durability of the installation. Property owners must evaluate existing drainage patterns and identify potential water accumulation zones before construction begins.
| Drainage Issue | Warning Signs | Recommended Solution |
|---|---|---|
| Poor Surface Drainage | Standing water after rain | Install surface drains or swales |
| Inadequate Slope | Water flows toward foundation | Implement proper grading options |
| Subsurface Water | Soggy ground, wet spots | French drains or permeable materials |
| Runoff Problems | Erosion, water channeling | Redirect flow with drainage solutions |
Professional assessment guarantees proper water management through strategic grading and appropriate drainage solutions. Homeowners should observe water flow patterns during heavy rainfall to identify problematic areas requiring corrective measures before driveway installation proceeds.
Choose the Right Driveway Material for Your Climate
While proper drainage forms the foundation of a successful driveway project, selecting materials that withstand local climate conditions guarantees long-term performance and cost-effectiveness. Each region presents unique environmental challenges that directly affect driveway durability.
Consider these climate-specific material options:
- Cold climates – Concrete and pavers resist freeze-thaw cycles better than asphalt, which can crack from temperature fluctuations
- Hot climates – Light-colored concrete reflects heat and prevents softening, while dark asphalt absorbs excessive heat
- Wet regions – Permeable pavers and gravel promote drainage, reducing water damage and erosion
- Mixed conditions – Interlocking pavers offer flexibility and easy repairs across varying weather patterns
Understanding climate impact on material performance helps homeowners make informed decisions that minimize maintenance costs and maximize longevity.
Measure and Plan Your Driveway Layout
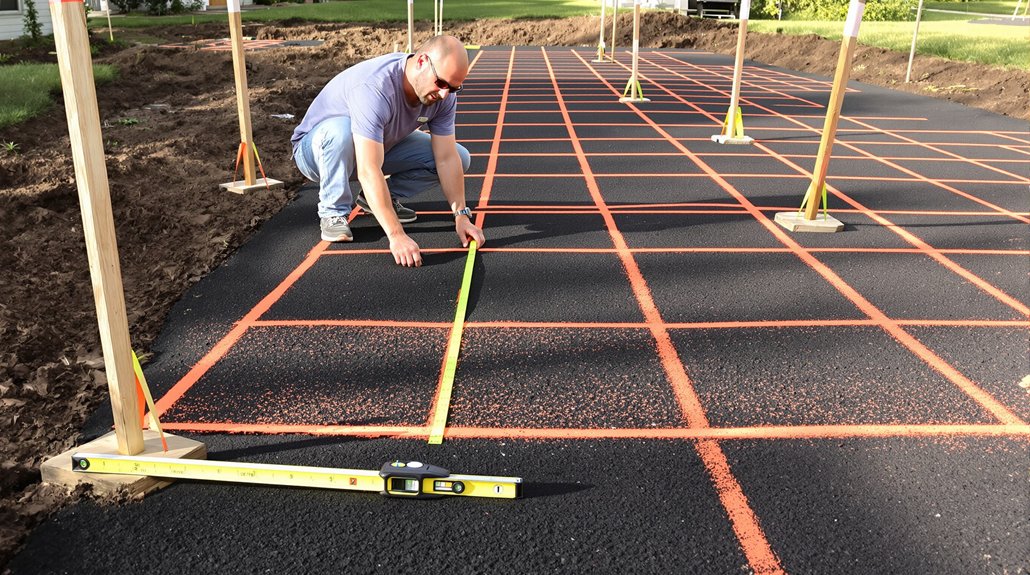
Accurate measurements and strategic layout planning prevent costly mistakes and guarantee maximum functionality once material selection is complete. Homeowners should measure the intended driveway area using a tape measure, marking key dimensions with spray paint or stakes. Essential driveway dimensions include length, width, and any curves or slopes that affect material requirements and installation costs.
Effective layout design considers vehicle turning radius, parking space requirements, and property drainage patterns. The driveway should provide adequate width for vehicle doors to open comfortably while maintaining proper distance from property lines and existing structures. Smart planning incorporates future needs, such as additional vehicles or maintenance access. Professional contractors often recommend creating a scaled drawing that includes all measurements and design elements before beginning excavation work.
Evaluate Soil Conditions and Foundation Requirements
Soil stability forms the foundation of any successful driveway installation, requiring thorough assessment before excavation begins. Understanding soil composition determines the appropriate foundation types and construction methods needed for long-term durability.
Property owners should conduct the following soil evaluation steps:
- Test soil drainage by digging a two-foot hole and filling it with water to observe absorption rates
- Identify soil type through visual inspection, noting clay, sand, or rocky compositions
- Check for underground utilities by contacting local utility marking services before excavation
- Assess slope and grading to determine water runoff patterns and potential erosion issues
Poor soil stability may require additional base materials, improved drainage systems, or specialized foundation types. Professional soil testing provides detailed analysis for challenging conditions, ensuring proper preparation prevents future settling, cracking, or structural failure.
Set Your Project Budget and Timeline
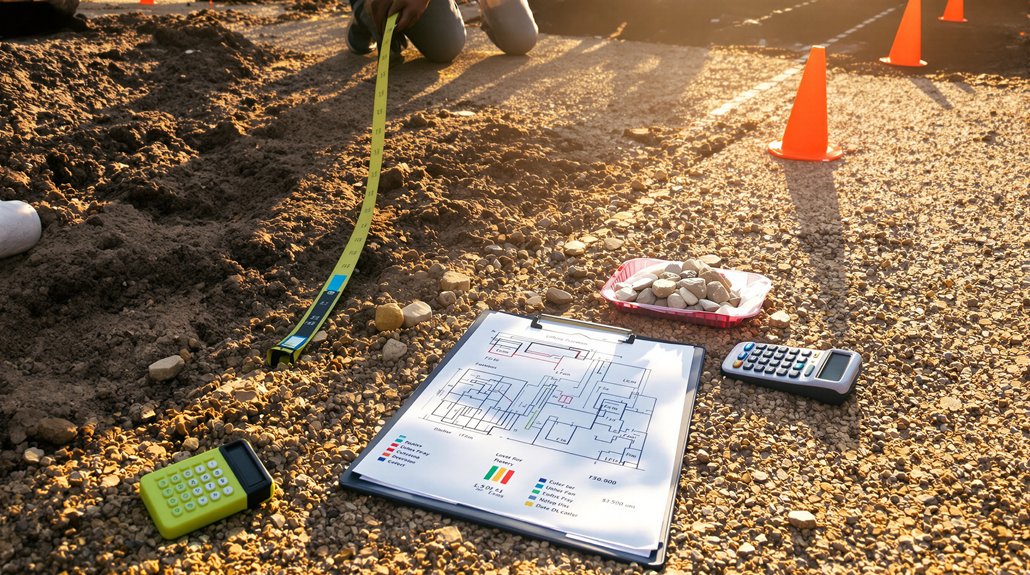
Establishing a realistic budget and timeline prevents costly overruns and guarantees adequate planning for driveway installation projects. Budget considerations should include material costs, labor expenses, equipment rental, permits, and a 15-20% contingency fund for unexpected issues. Homeowners must factor in excavation, grading, drainage systems, and finishing materials when calculating total expenses. Different driveway materials vary considerably in cost, with concrete typically costing more than asphalt but offering longer durability.
Timeline management requires coordinating weather conditions, contractor availability, and permit approvals. Most driveway installations take 3-7 days, depending on size and complexity. Homeowners should schedule projects during favorable weather seasons and allow buffer time for delays. Proper timeline management guarantees adequate curing time for materials and prevents rushing critical installation phases that could compromise long-term durability.
Clear Existing Surfaces and Vegetation
Removing all existing surfaces, vegetation, and debris creates a clean foundation essential for proper driveway installation. Homeowners must systematically eliminate obstacles that could compromise the new surface’s stability and longevity.
Effective removal techniques vary depending on surface materials and vegetation density. Property owners should assess the scope of work required before beginning the clearing process.
- Remove concrete, asphalt, or gravel using jackhammers, sledgehammers, or heavy machinery for large areas
- Clear all vegetation including grass, weeds, shrubs, and tree roots through cutting and excavation
- Extract debris such as rocks, old utilities, and buried materials that could interfere with installation
- Grade the cleared area to guarantee proper drainage and eliminate low spots or irregularities
Proper vegetation management prevents future growth through the new driveway surface, guaranteeing lasting results.
Arrange for Proper Equipment and Material Access
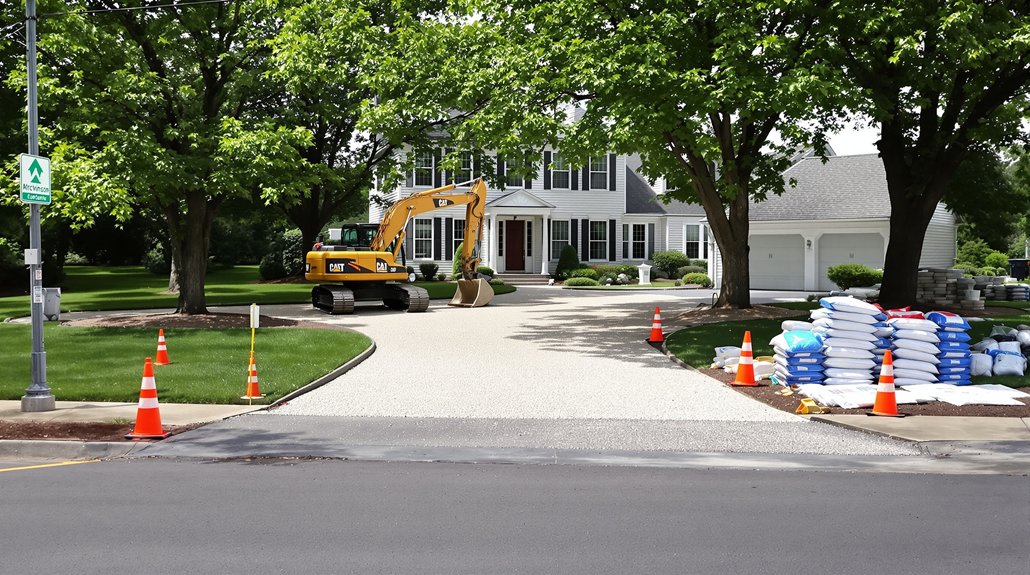
After clearing the work area, contractors require unobstructed pathways to transport heavy machinery and construction materials to the installation site. Homeowners must guarantee adequate space for excavators, compactors, and delivery trucks to maneuver safely. Remove parked vehicles from driveways and streets adjacent to the property. Identify the most direct route from the street to the work zone, checking for overhead obstacles like low-hanging branches or power lines that could interfere with equipment selection and operations.
Coordinate material delivery schedules with contractors to prevent supply delays. Designate a staging area where materials such as gravel, concrete, or asphalt can be temporarily stored without obstructing traffic flow. Notify neighbors about potential temporary access restrictions and increased truck traffic during the installation period.
Prepare for Weather Delays and Seasonal Considerations
Weather conditions considerably impact driveway installation timelines and material performance, requiring homeowners to plan flexible scheduling approaches. Seasonal impacts affect different driveway materials uniquely, making timing essential for successful installations.
Property owners should consider these vital factors:
- Temperature requirements – Concrete and asphalt need specific temperature ranges for proper curing and compaction, typically between 50-85°F for ideal results.
- Precipitation concerns – Rain, snow, or excessive moisture can halt work completely and compromise material integrity during installation phases.
- Ground conditions – Frozen or oversaturated soil prevents proper excavation and base preparation, especially during winter and spring months.
- Extended scheduling windows – Allow additional weeks beyond estimated completion dates to accommodate weather-related delays and rescheduling needs.