Installing a gravel driveway is one of the smartest investments we can make for our home’s curb appeal and functionality. It’s cost-effective, with installation ranging from $1,500 to $6,000, and it offers excellent drainage and minimal maintenance. We’ll need to choose the right gravel type, calculate our materials accurately, and properly prepare the ground before laying anything down. Stick with us, and we’ll walk you through everything you need to know.
The Practical Advantages of a Gravel Driveway Over Concrete and Asphalt
When comparing driveway materials, gravel stands out as the most cost-effective and practical choice for most homeowners. Unlike concrete or asphalt, gravel costs considerably less to install and requires minimal maintenance over time. We also don’t have to worry about cracking, since gravel naturally shifts without structural damage.
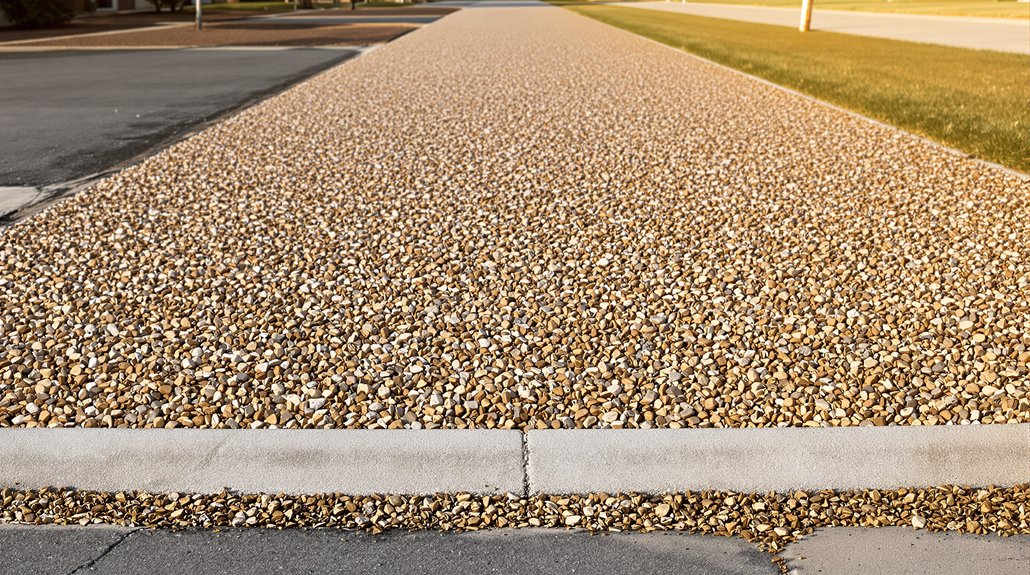
One of gravel’s strongest advantages is its drainage benefits. Water filters directly through the surface, reducing runoff and preventing pooling that commonly damages harder surfaces. This makes it especially valuable in regions with heavy rainfall.
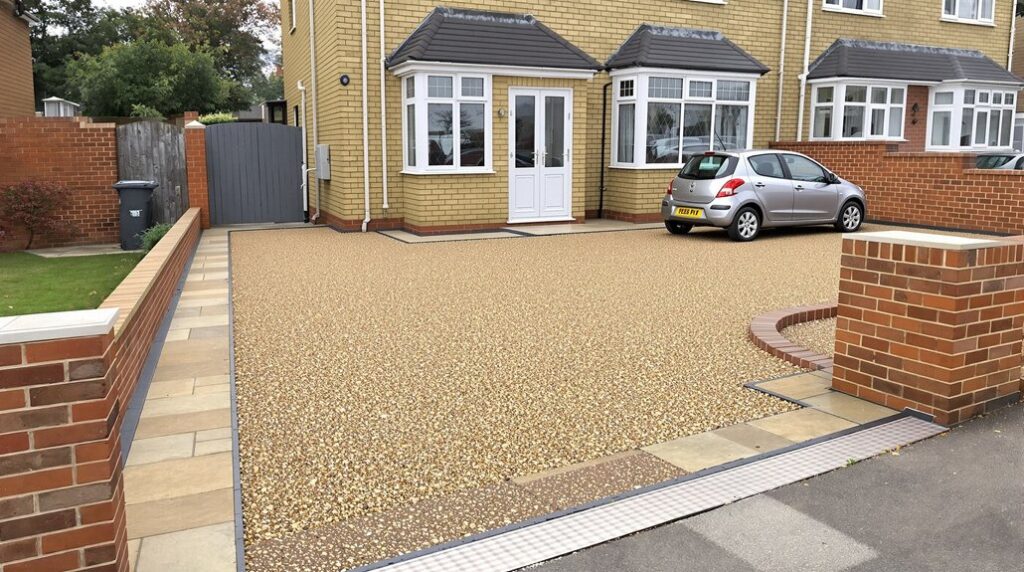
Beyond function, gravel offers genuine aesthetic appeal. We can choose from various colors, textures, and stone sizes to complement any home’s exterior. It’s a versatile material that balances affordability, durability, and visual charm in ways that concrete and asphalt simply can’t match.
How Much Does a Gravel Driveway Cost to Install?
Installing a gravel driveway typically costs between $1,500 and $6,000 for an average residential project, though several factors influence the final price. Installation costs vary based on driveway size, gravel type, excavation needs, and local labor rates. We’re looking at roughly $1 to $3 per square foot for materials alone, with labor adding another $0.50 to $2 per square foot.
In any driveway comparison, gravel consistently comes out as the most affordable option. Concrete driveways run $4,000 to $10,000, while asphalt projects range from $3,000 to $7,000. Gravel also requires less time to install, reducing labor expenses considerably.
We should also account for periodic replenishment costs, typically $100 to $500 every few years, to maintain proper coverage and performance.
Choosing the Right Type of Gravel for Your Driveway

Gravel selection plays a decisive role in how well your driveway performs over time. Different gravel types suit different needs, so we recommend evaluating both function and driveway aesthetics before purchasing. Crushed stone, like #57 limestone, compacts well and handles heavy traffic effectively. Pea gravel offers a smooth, rounded appearance but shifts underfoot and requires edging to stay contained. Decomposed granite provides a firm, stable surface and blends naturally into landscaping. For base layers, we suggest using larger, angular stones that lock together and support weight. Your top layer should prioritize both drainage and appearance. Local climate, soil type, and traffic volume all influence which gravel type performs best. Consulting a local supplier helps us match the right material to our specific conditions.
How Much Gravel Do You Need for a Driveway?

Once we’ve settled on the right gravel type, calculating how much we need keeps us from over-ordering or running short mid-project. To determine gravel volume, we’ll start by measuring our driveway dimensions—length, width, and desired depth.
A standard driveway depth runs about 4 inches. Multiply length by width by depth, then divide by 27 to convert cubic feet into cubic yards. For example, a 50-foot by 12-foot driveway at 4 inches deep requires roughly 7.4 cubic yards.
We’d recommend adding 10% extra to account for settling and uneven ground. Most suppliers sell gravel by the ton, so we’ll also need to check the weight-to-volume ratio for our specific gravel type before placing an order.
Tools and Materials to Gather Before You Start
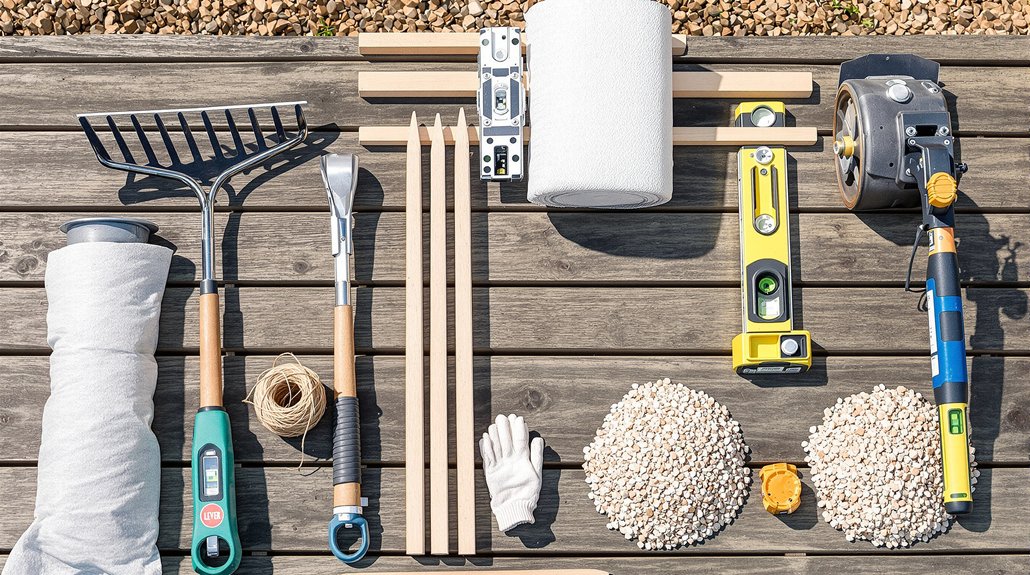
Before breaking ground, we’ll want to have the right tools and materials on hand to avoid unnecessary delays. Choosing the correct gravel types and gathering essential installation tools early keeps the project running smoothly.
| Category | Item | Purpose |
|---|---|---|
| Gravel Types | Base gravel | Structural foundation |
| Gravel Types | Surface gravel | Finished top layer |
| Installation Tools | Plate compactor | Compresses gravel layers |
| Installation Tools | Landscape rake | Levels and spreads gravel |
Beyond what’s listed, we’ll also need landscaping fabric, edging stakes, a wheelbarrow, and a garden hose for settling. Having everything staged before we begin saves time and prevents mid-project trips to the supply store.
How to Prepare the Ground for a Gravel Driveway

Proper ground preparation is the foundation of a long-lasting gravel driveway, so we’ll want to take our time with these four steps.
First, mark the driveway’s boundaries using stakes and string. Second, remove all vegetation, roots, and topsoil to a depth of about 8–12 inches, exposing stable subsoil beneath. Third, address drainage solutions by grading the surface with a slight crown or slope, ensuring water runs off rather than pooling beneath the gravel. Fourth, compact the exposed subsoil using a plate compactor to maximize soil stability and prevent future shifting or sinking.
Once we’ve completed these steps, we’re ready to install a geotextile landscape fabric, which suppresses weed growth and further reinforces the base before we begin laying our gravel layers.
Laying a Gravel Driveway Step by Step

With our ground properly prepared and geotextile fabric in place, we’re ready to begin laying the gravel layers. One of the gravel driveway benefits is its straightforward installation process compared to other surfaces.
| Layer | Material | Depth |
|---|---|---|
| Base | Crushed stone | 4–6 inches |
| Middle | Road gravel | 3–4 inches |
| Top | Pea gravel | 2–3 inches |
When considering driveway material comparisons, gravel remains cost-effective and faster to install than concrete or asphalt. Spread each layer evenly using a rake, then compact it thoroughly with a plate compactor before adding the next layer. Work from the edges inward, maintaining consistent depth throughout. After compacting the final top layer, install edge restraints to prevent spreading and shifting over time.
Edging Options That Keep Your Gravel Driveway in Place

Edging is the final piece that holds everything we’ve built together. Without proper borders, gravel migrates onto lawns, walkways, and streets — undoing all our hard work. Choosing the right border materials makes a measurable difference in long-term containment and landscape integration.
Here are our top edging options:
- Plastic landscape edging – affordable, flexible, and easy to install along curves
- Metal edging – durable, clean-lined, and ideal for modern aesthetics
- Timber or railroad ties – natural appearance that blends well with landscape integration goals
- Concrete curbing – permanent and low-maintenance
- Natural stone – premium border materials that elevate curb appeal
We recommend driving stakes deep and securing connections tightly. A well-installed edge keeps gravel exactly where we placed it — permanently.
How to Maintain a Gravel Driveway Year-Round

Maintaining a gravel driveway year-round doesn’t require much effort, but it does demand consistency. We recommend building a simple seasonal maintenance routine to catch problems before they worsen. In spring, inspect for winter damage and address any gravel repairs caused by snowplows or freeze-thaw cycles. Rake displaced stones back into place and fill low spots with fresh gravel. Summer is ideal for grading the surface and compacting loose areas. In fall, clear debris and leaves that trap moisture and accelerate erosion. During winter, avoid metal-edged plows that scrape away your gravel layer. By staying proactive each season, we can extend the driveway’s lifespan considerably. Small, consistent efforts prevent costly overhauls and keep the surface safe and functional throughout the entire year.