Paver driveway repair starts with spotting the warning signs early—sunken pavers, cracks, weed growth, or fading—before small issues become costly problems. We can fix most damage by lifting and re-leveling uneven pavers, replacing cracked ones, and renewing washed-out joint sand with polymeric sand. Sealing the surface every two to three years keeps everything protected and looking sharp. Whether you’re going DIY or hiring a pro, there’s a lot more to know before you get started.
Signs Your Paver Driveway Needs Repair

Paver driveways are built to last, but even the toughest installations show wear over time. We recommend watching for these warning signs that indicate your driveway needs attention. Sunken or uneven pavers create trip hazards and redirect water toward your foundation. Cracks in common paver materials like concrete, brick, or natural stone signal structural stress beneath the surface. Weed growth between joints means your joint sand has eroded, weakening the entire surface. Stains, fading, or efflorescence suggest moisture problems that’ll worsen without intervention. Among the most valuable paver maintenance tips we share with homeowners is this: don’t ignore small issues. A single shifting paver can trigger a chain reaction that compromises the surrounding installation, turning a simple fix into a costly full-scale repair.
What Causes Paver Driveway Damage in the First Place

Understanding what drives paver damage helps you catch problems before they escalate. Several culprits wear down even well-installed driveways over time. Environmental factors top the list — freeze-thaw cycles crack and shift pavers as water expands beneath the surface. Heavy rainfall erodes the sand base, causing pavers to sink or become uneven. Intense UV exposure fades and weakens paver materials gradually.
Beyond weather, tree roots push up from below, disrupting the entire base layer. Heavy vehicle loads stress pavers beyond their design limits, especially older or lower-quality paver materials. Poor initial installation — inadequate compaction, shallow bases, or missing edge restraints — accelerates every other problem.
We also see chemical spills, oil, and de-icing salts deteriorate surface integrity quickly. Knowing these causes helps you act decisively before minor damage becomes a costly replacement.
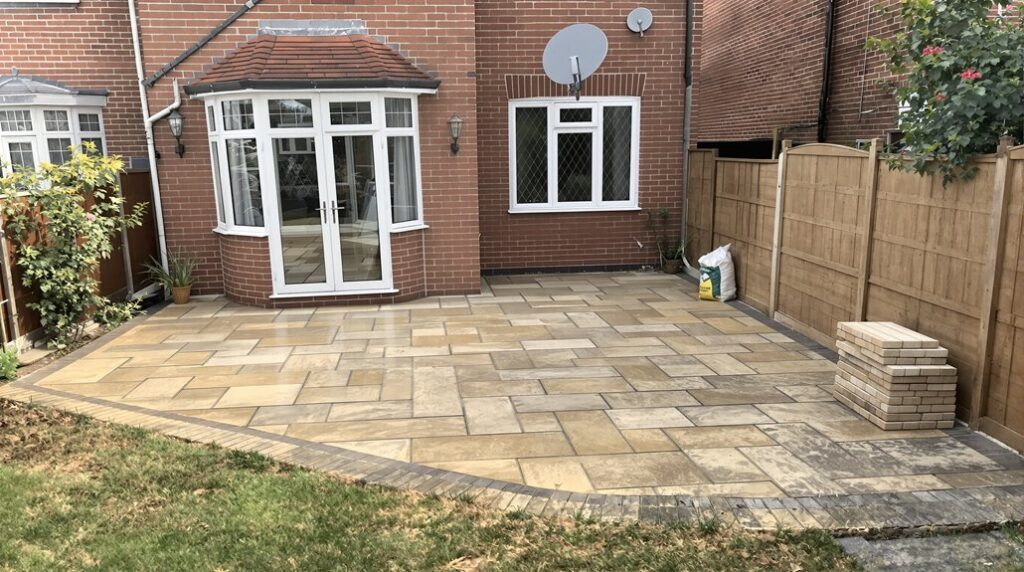
What to Buy Before You Start Your Paver Driveway Repair

Before you start pulling up damaged pavers, gather the right materials and tools so the job goes smoothly from start to finish. Having everything ready saves time and prevents costly mistakes.
Here’s what we recommend picking up:
- Replacement pavers – Match the existing size, color, and material as closely as possible.
- Repair tools – You’ll need a chisel, rubber mallet, pry bar, and trowel.
- Adhesive products – Polymeric sand and jointing adhesive keep pavers locked in place.
- Safety equipment – Grab work gloves, knee pads, and safety glasses before you begin.
Don’t skip the planning stage. Walking into a hardware store without a clear list often means multiple trips and delayed progress.
How to Fix Sunken or Uneven Pavers

Once you’ve got your materials ready, it’s time to tackle one of the most common paver problems: sunken or uneven sections. These sunken paver solutions require careful lifting and re-leveling to restore a smooth surface.
Start by using a flatbar or paver extractor to carefully lift the affected pavers. Set them aside, then examine the base layer beneath. If it’s washed out or compacted unevenly, add polymeric sand or additional base material to build it back up. Rake it level, then tamp it firmly.
For uneven paver techniques, we recommend checking your work with a level before resetting each stone. Once the base is stable, reset the pavers, tap them into position with a rubber mallet, and refill the joints with polymeric sand.
How to Replace Cracked or Broken Pavers

Cracked or broken pavers are easier to replace than most homeowners expect. Using proper replacement techniques guarantees a seamless fix that matches your existing driveway. Follow these steps:
Replacing cracked pavers is simpler than you think — the right techniques deliver a seamless, professional result every time.
- Remove the damaged paver using a chisel and pry bar without disturbing surrounding pavers.
- Clean the base by clearing debris and replenishing the sand or gravel layer evenly.
- Apply paver selection tips by matching color, texture, and thickness before purchasing replacements.
- Set the new paver by pressing it firmly into place, filling joints with polymeric sand, and compacting it level with neighboring pavers.
We recommend sealing the repaired area afterward to protect against future cracking. Taking your time during each step ensures a durable, professional-looking result.
How to Repair Washed-Out Paver Joint Sand

After replacing cracked or broken pavers, it’s worth checking your joint sand, since washed-out joints are just as common and can undermine the stability of your entire driveway. Rain and traffic gradually erode the sand between pavers, leaving gaps that allow pavers to shift and weeds to take hold.
For sand replacement, we recommend using polymeric sand, which hardens when wet and resists future washout far better than standard jointing sand. Here’s how we do it:
- Clean the joints by removing weeds, debris, and any remaining loose sand.
- Sweep polymeric sand across the surface, working it into every paver joint.
- Compact the pavers with a plate compactor to settle the sand fully.
- Mist the surface with water to activate the binding agents.
How to Seal Your Driveway After Completing Repairs

Sealing your driveway is the final step that locks in all your hard work and keeps future damage at bay. Using the right sealing products and sealing techniques makes all the difference.
Follow these steps for best results:
- Clean the surface thoroughly, removing all debris and dust.
- Allow repaired joints to cure completely before applying any sealer.
- Choose a penetrating or film-forming sealing product based on your paver type.
- Apply the sealer evenly using a roller or sprayer, working in sections.
Avoid sealing in direct sunlight or extreme heat, as this affects adhesion. We recommend resealing every two to three years to maintain protection and keep your driveway looking its best.
Paver Driveway Repair Cost: DIY vs. Hiring a Pro

Understanding the cost difference between DIY and professional paver driveway repair can help you make the smartest decision for your budget. For a straightforward cost comparison, DIY repairs typically run $100–$500 in materials, while hiring a pro costs $500–$2,000 depending on damage severity.
DIY saves money upfront, but we need to factor in tool rentals, learning curves, and potential mistakes that could increase expenses. Professionals bring expertise, equipment, and warranties, making them worth the premium for extensive damage.
Your project timeline matters too. We can complete minor DIY repairs in a weekend, while pros often finish faster due to their experience and crew size. Weigh your skill level, available time, and budget carefully before deciding which route suits your situation best.
How to Keep Weeds Out of Your Paver Driveway for Good

Whether we tackle paver repairs ourselves or hire a pro, keeping weeds out afterward protects that investment. Consistent driveway maintenance prevents costly re-repairs down the road. Here’s what actually works:
- Seal the joints with polymeric sand to eliminate gaps where seeds germinate.
- Apply organic herbicides like clove oil or citric acid-based solutions directly to problem areas without damaging surrounding surfaces.
- Reseal your pavers every two to three years to block moisture that encourages weed growth.
- Inspect and spot-treat monthly, pulling weeds before their roots anchor deeply between stones.
Combining these steps creates a layered defense. No single method eliminates weeds permanently, but consistent attention keeps them manageable and your driveway looking sharp year-round.
How to Prevent Paver Driveway Damage Long-Term

Long-term paver driveway protection comes down to a few consistent habits that we can build into our routine maintenance. Following proven paver maintenance tips keeps minor issues from turning into costly repairs.
We should reseal the surface every two to three years to lock out moisture and freeze-thaw damage. Keeping the base properly compacted and drainage clear prevents shifting and settling over time. We’ll also want to inspect edge restraints regularly since loose borders let pavers spread and crack.
Avoiding heavy vehicle overloading and addressing spills quickly also protects the surface. These straightforward steps greatly improve long term durability without demanding major time or expense. Consistent attention is always cheaper than full replacement, so building these habits now pays off for years ahead.